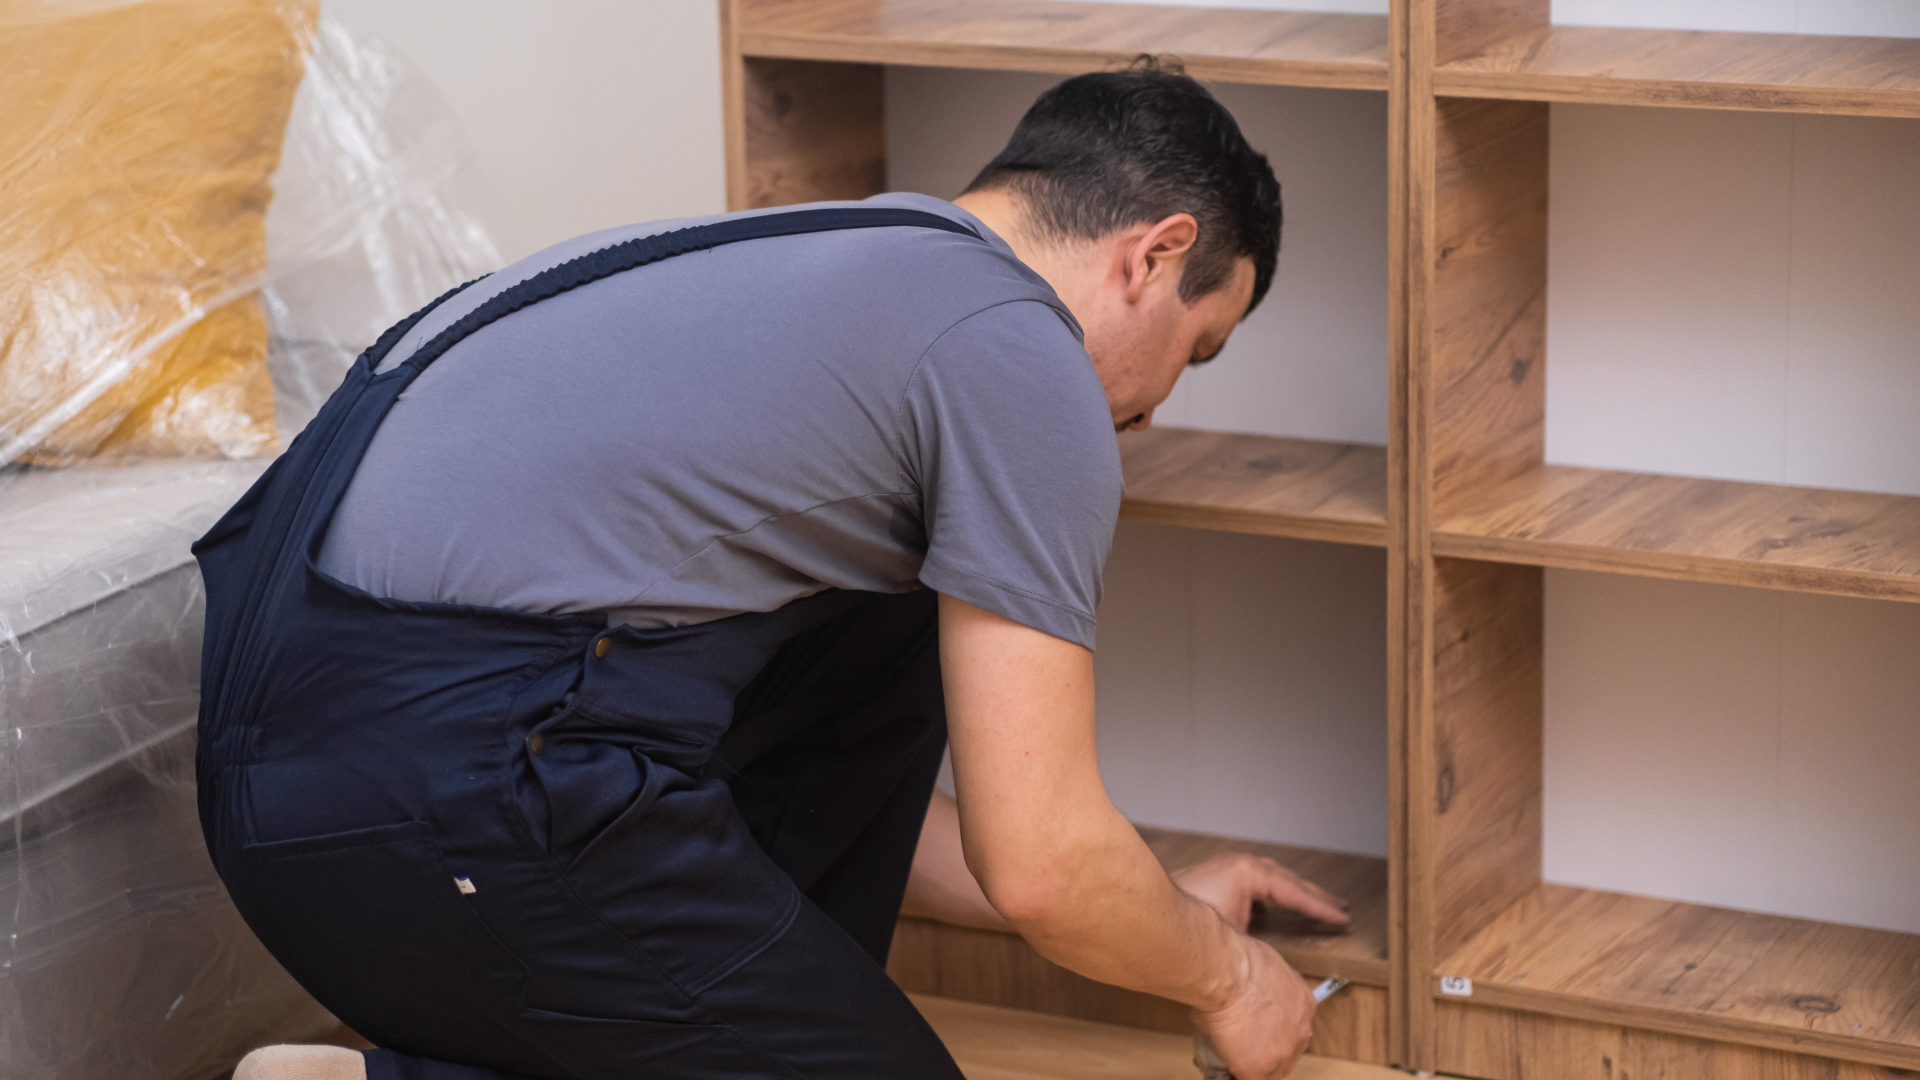
DIY furniture restoration offers an opportunity to breathe new life into tired pieces while adding a personal touch to home decor. This creative process allows individuals to transform discarded or outdated furniture into stylish, functional items that enhance their living space. With a few tools and the right techniques, anyone can embark on a rewarding project that combines craftsmanship with sustainability.
As interest in personalized home decor grows, more people are turning to DIY projects to express their style. Furniture restoration can be a fulfilling way to achieve unique aesthetics without the high costs typically associated with new furnishings. By learning basic skills, such as sanding, painting, or reupholstering, anyone can elevate their home with distinctive pieces that reflect their personality and values.
Whether tackling a vintage dresser or a simple chair, DIY furniture restoration projects can be both practical and enjoyable. Engaging in such tasks offers a sense of accomplishment and can lead to beautiful results that resonate with them for years to come. By embracing this approach, they participate in a sustainable practice that contributes positively to the environment.
Essential Tools and Materials
Restoring furniture requires a selection of tools and materials tailored for various tasks. Each choice contributes to the effectiveness of the restoration process, ensuring durability and a professional finish.
Selecting the Right Chemicals
Using the correct chemicals is crucial for effective furniture restoration. Paint strippers and chemical strippers are essential for removing old finishes. These products should be chosen based on the type of finish being removed, with formulations specifically designed for wood surfaces.
Mineral spirits serve as a solvent, perfect for cleaning brushes and removing wax or oils without damaging the wood. It’s important to work in a well-ventilated area when using these chemicals to ensure safety.
A quality tack cloth is important for the final cleaning. It captures dust and debris after sanding, preparing the surface for refinishing. Choosing products from reputable brands can assure safety and effectiveness during restoration.
Choosing Your Fillers and Putty
Selecting the right fillers and putty is necessary to achieve a seamless finish. Wood fillers are typically used for small repairs, while epoxy putty is ideal for more significant damage.
Wood fillers can be colored to match the existing wood, aiding in a consistent appearance. They cure quickly, allowing for sanding and finishing within hours. Epoxy putty is more versatile and fills larger gaps, providing enhanced durability.
When applying fillers, it is essential to smooth the surface to minimize sanding later. Both options should be easy to apply and compatible with the finishing product selected for the project.
Finishing Products
The final touch in furniture restoration involves the right finishing products. Varnishes, lacquers, and stains can enhance the wood’s natural beauty while providing protection.
Choosing a finish depends on the desired effect. For a matte finish, matte varnishes are available, while gloss varnishes provide a shiny look. Stains come in various colors, allowing customization to match existing furniture. For a professional-grade finish, consider industrial grade wood finishing products from reputable brands like Finishers Depot. These high-quality coatings provide durability, protection, and a beautiful finish while being environmentally friendly.
However, before applying a finish, ensure that the surface is clean and free of contaminants. The application tool, such as a brush or cloth, should be in good condition. Following the manufacturer’s instructions on drying times and reapplication will result in a durable and attractive restored piece.
Preparing the Furniture
Before starting any furniture restoration project, establishing a solid foundation is essential. Proper preparation involves thoroughly cleaning the surface, removing any old finish, and sanding the furniture for a smooth finish. Each step plays a critical role in ensuring a successful refinishing process.
Cleaning the Surface
Cleaning the furniture effectively removes dirt, dust, and oils that may impede the adhesion of new finishes. Begin by using a gentle detergent mixed with warm water. A soft cloth or sponge can help in scrubbing surfaces.
Tip: For tough spots, use a mixture of vinegar and water or a commercial wood cleaner.
Make sure to dry the surface completely after cleaning, as moisture can lead to issues during the refinishing process. Regular maintenance can keep the furniture looking its best, making the restoration easier.
Removing the Old Finish
Removing the old finish is essential to prepare the surface for refinishing. This usually involves stripping agents or sanding. If opting for a chemical stripper, use it in a well-ventilated area and follow the manufacturer’s instructions.
For a more manual approach, she can sand down the old finish using medium to fine-grit sandpaper. Ensure all remnants of the previous finish are removed for an even application of new stain or sealant.
Consider: Using a putty knife for detailed areas can help reach tight spaces without damaging wood.
Sanding and Smoothing
Sanding ensures a smooth and even surface, which is critical for achieving a professional finish. Start with a coarser grit sandpaper to remove large imperfections. Follow with finer grits to achieve a smooth surface.
It’s advisable to sand in the direction of the wood grain to avoid scratches. After sanding, it’s important to remove all dust with a vacuum or damp cloth. This ensures there’s no residue that can mar the final finish.
Note: Regularly check the surface for smoothness during the process to maintain quality in the finish.
Applying the Finish
Applying the finish is a critical step in furniture restoration, as it enhances both the appearance and durability of the piece. This involves selecting appropriate stains or dyes and applying a protective sealant.
Working with Stains and Dyes
When choosing a finish, stains, and dyes play a vital role in achieving the desired color and depth. Gel stains are particularly favored for their ease of application and consistent coverage, making them suitable for vertical surfaces and intricate details. They sit on the wood’s surface, allowing for adjustments in color without extensive prep work.
Wood stains penetrate deeper, enhancing the grain but may require careful application and multiple coats for uniformity. Applying a dye can produce intense colors, perfect for projects requiring a bold transformation.
Before applying any product, ensure the surface is clean and sanded. A test patch is advisable to see how the wood reacts to the stain or dye, guaranteeing satisfaction with the final look.
Sealing and Protecting Wood
After the stain or dye has fully dried, sealing the wood is essential to safeguard it against moisture, dirt, and wear. Polyurethane is a popular choice for its robust protective qualities, available in matte or glossy finishes to suit personal taste. It can be applied with a brush or spray, ensuring an even coat.
Shellac provides a natural alternative with quicker drying times but is less durable than polyurethane. For a more traditional finish, furniture wax can offer a soft sheen and protective barrier, ideal for lightly used pieces.
Regardless of the sealant chosen, applying multiple thin coats will yield the best results. Always sand lightly between coats for optimal adherence and finish quality.
Final Touches and Care
After completing the restoration process, the final touches are crucial for achieving a polished look. Proper maintenance is also essential for preserving the furniture’s longevity and aesthetic appeal. The following segments will provide detailed insights into finishing work and ongoing care.
Detailed Finishing Work
For furniture restoration, finishing work significantly enhances the appearance and protects the piece. Begin by sanding it lightly with fine-grit sandpaper to ensure a smooth surface. This step is vital, as it prepares the wood to absorb the finish evenly.
Next, apply a wood stain if desired. Use a brush or cloth, working in the direction of the grain. Allow the stain to sit according to product instructions before wiping off any excess.
Finish with a protective topcoat such as polyurethane or tung oil. A minimum of two coats is advisable for durability. Ensure each coat dries fully before applying the next. This process will help the restored piece withstand wear while maintaining its beauty.
Maintaining Restored Furniture
Ongoing care is essential to keep restored furniture in prime condition. Regular dusting with a microfiber cloth helps prevent dust buildup, which can scratch surfaces.
For deeper cleaning, a damp cloth with mild soap can be used, but avoid harsh chemicals that can strip the finish.
It is also crucial to maintain an appropriate environment. Avoid exposing the furniture to direct sunlight, as it can fade and damage the finish.
Lastly, periodic assessments of the finish are recommended. If wear occurs, refinishing can be a simple solution to restore its former glory. This proactive approach will ensure the longevity and beauty of the furniture remains intact.


